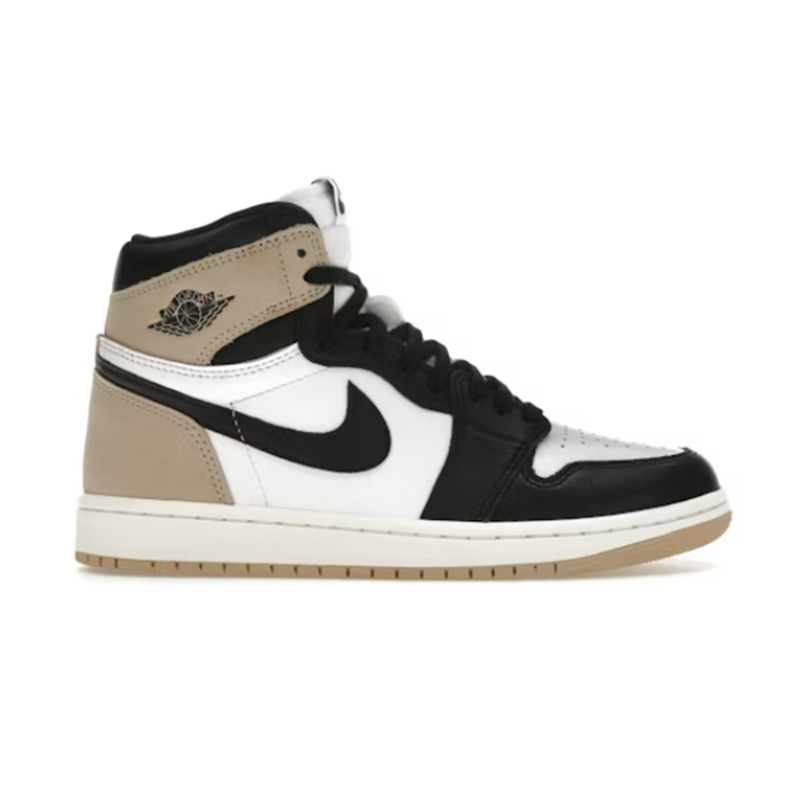
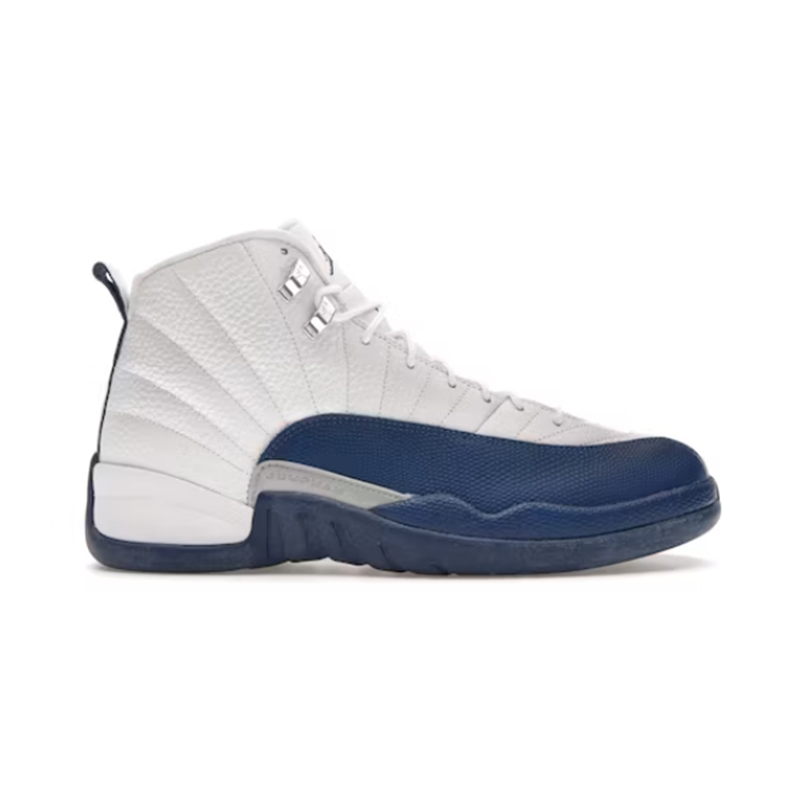
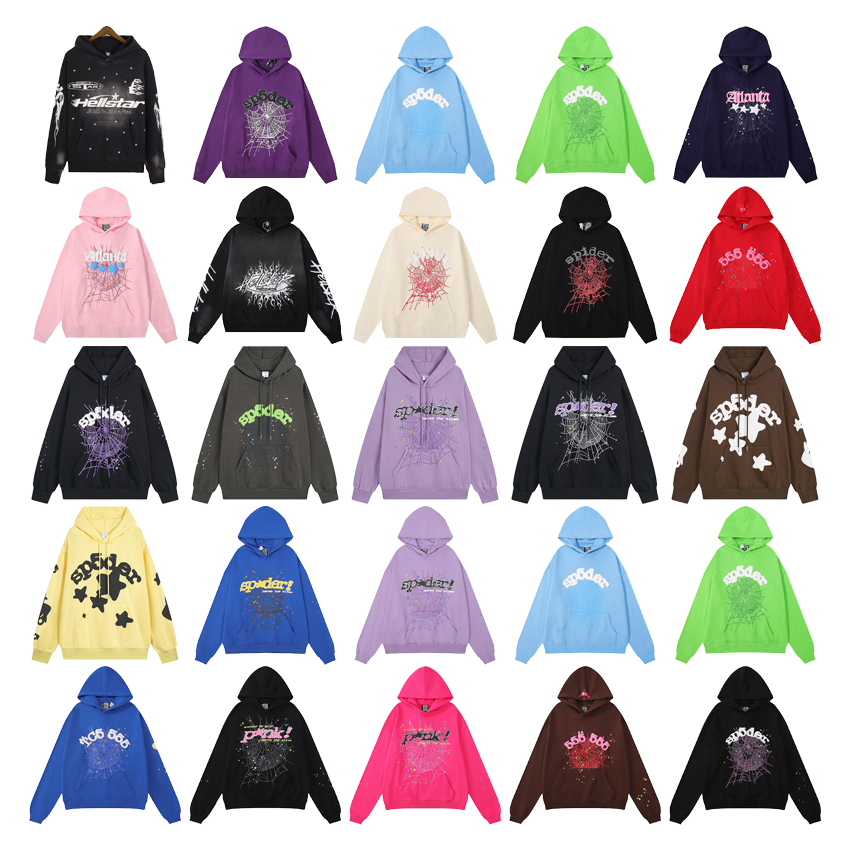
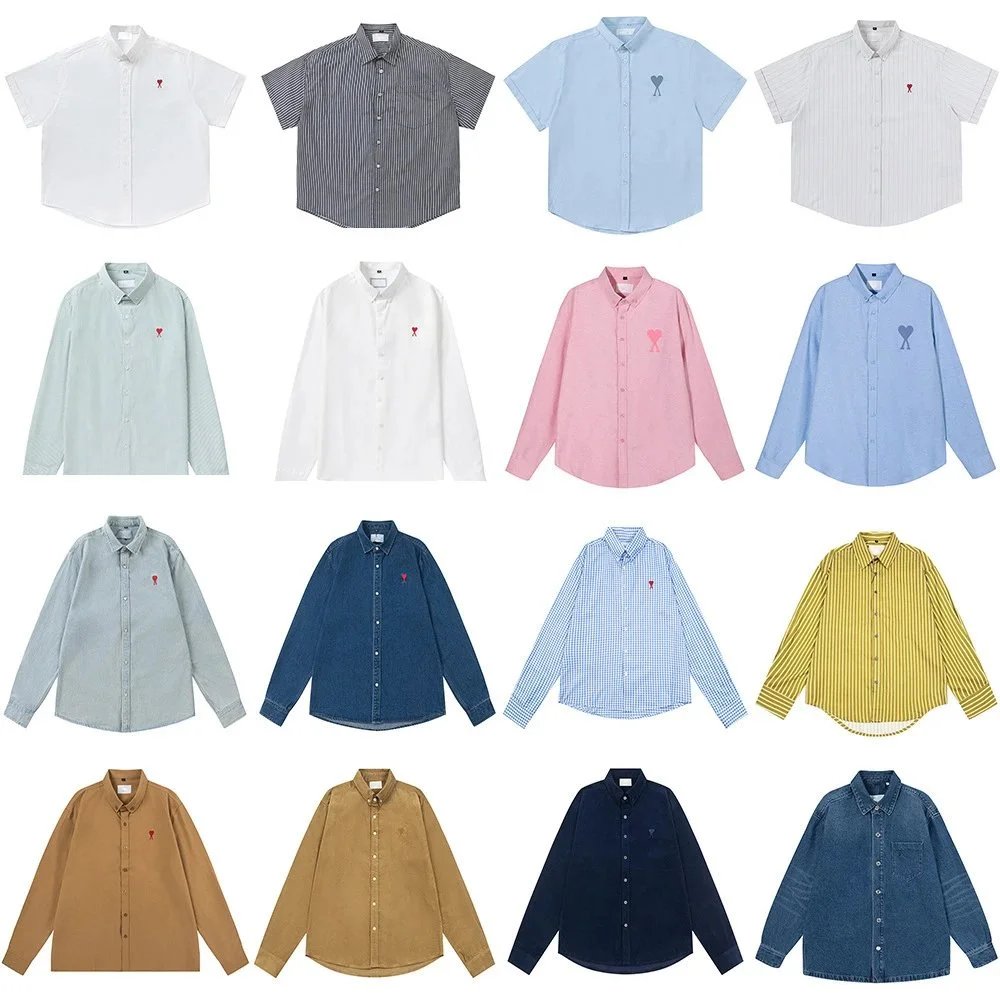
Shoes
Check toe shape, heel height, pair symmetry, size tag, outsole colour and any obvious glue marks.
Use warehouse photos as decision evidence. The goal is not to over-check every item, but to catch visible mismatches before parcel release.
Check toe shape, heel height, pair symmetry, size tag, outsole colour and any obvious glue marks.
Check print placement, fabric look, collar shape, label area, sleeve length and size chart consistency.
Check hardware colour, stitching, strap position, zipper line, logo placement and inner label photos.
Check badge, sponsor print, collar shape, number set, fabric texture and visible spelling details.
Check quantity, colour, size, packaging and whether small parts are visible before shipment.
Request another photo when size tags, damage, colour or a key logo area is missing from the first set.
The warehouse item matches the selected option, key details are visible and any small flaws are acceptable for the price and use.
A size tag, logo area, sole, zipper, badge, hardware or damage area is hidden, blurred or photographed from the wrong angle.
The wrong option arrived, visible damage is important, route risk is high or the item no longer makes sense after shipping cost.
No. Product rows help you find and compare items. QC photos help you decide whether the warehouse item matches what you meant to buy.
Pause approval and request a clearer photo of the exact area that affects the decision, such as a size tag, label, sole, badge or hardware.
No. Compare the issue with item price, intended use, return rules and shipping cost before deciding.
Ask for photos that change the decision: size tag, label close-up, damaged area, pair comparison, badge detail, zipper line or package contents.
Move from the row into QC evidence, then decide whether the visible item, parcel impact and final cost still support the order.
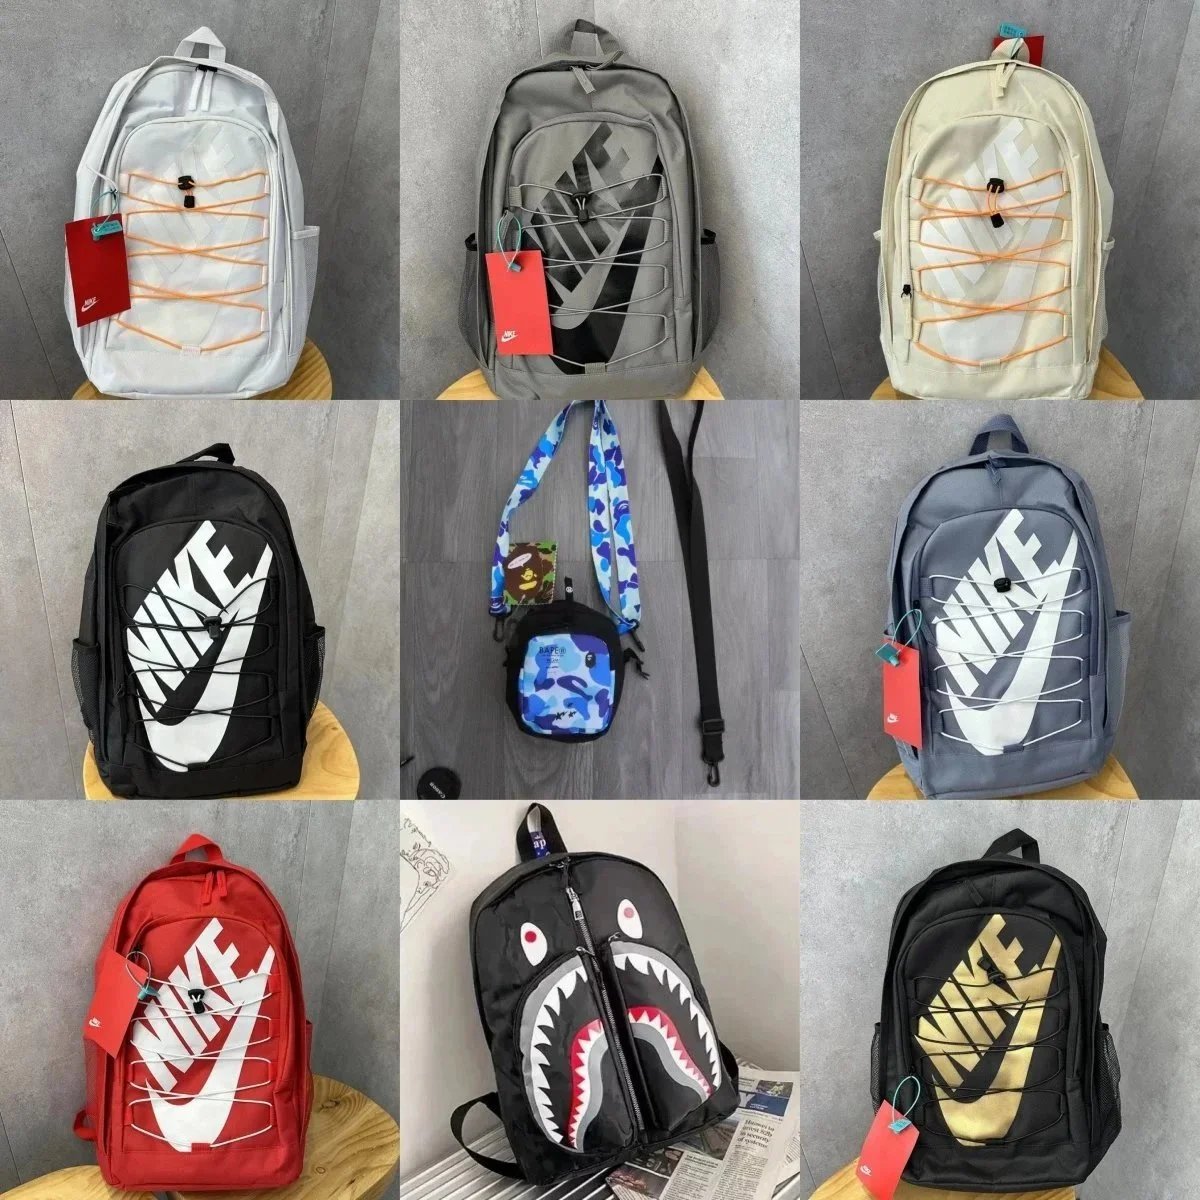
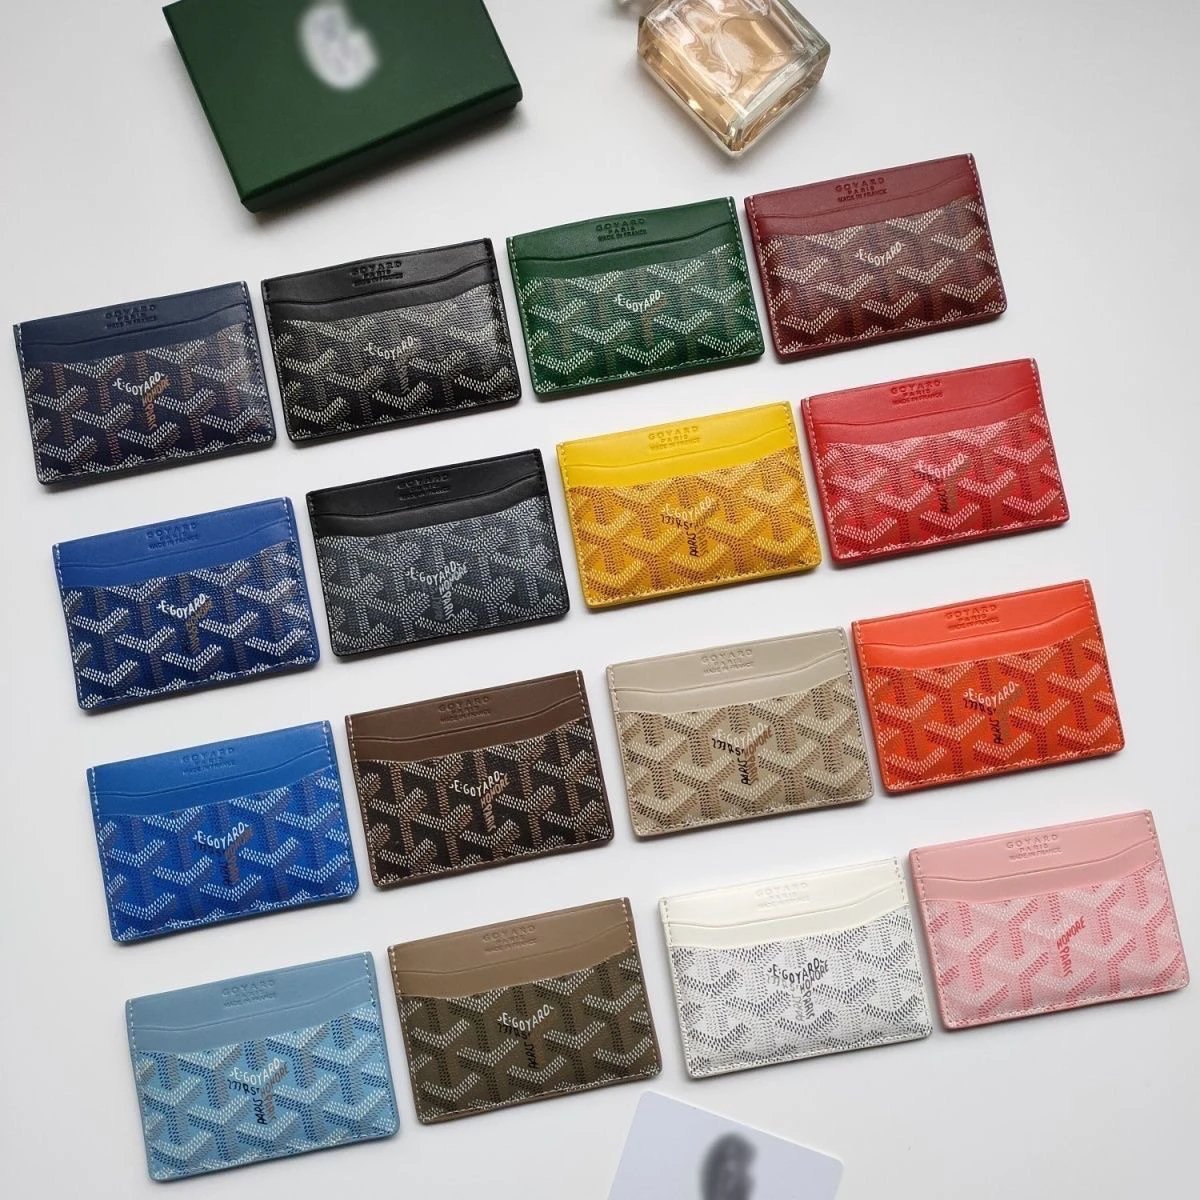
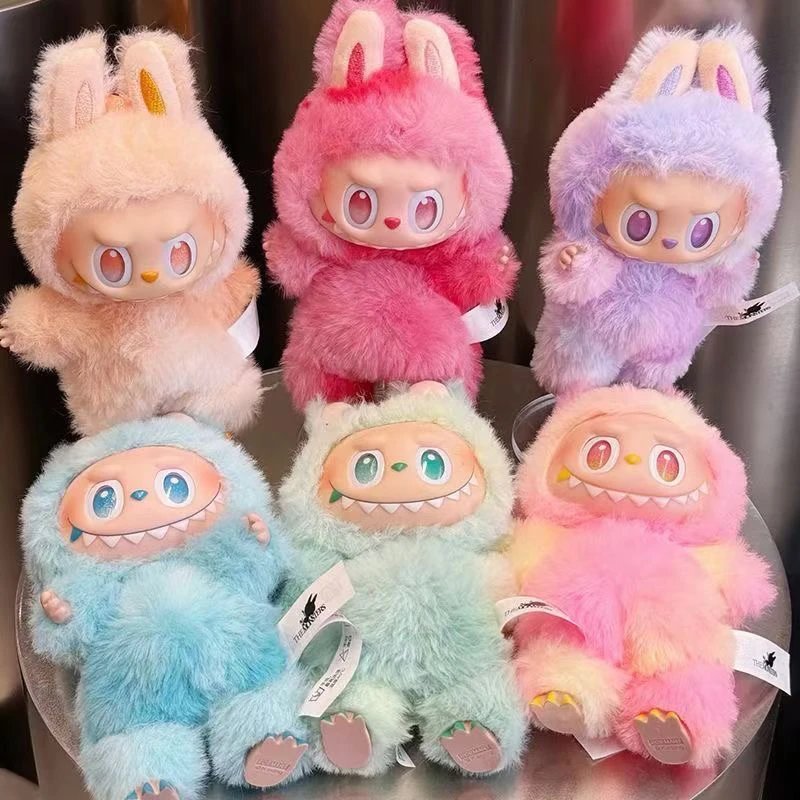
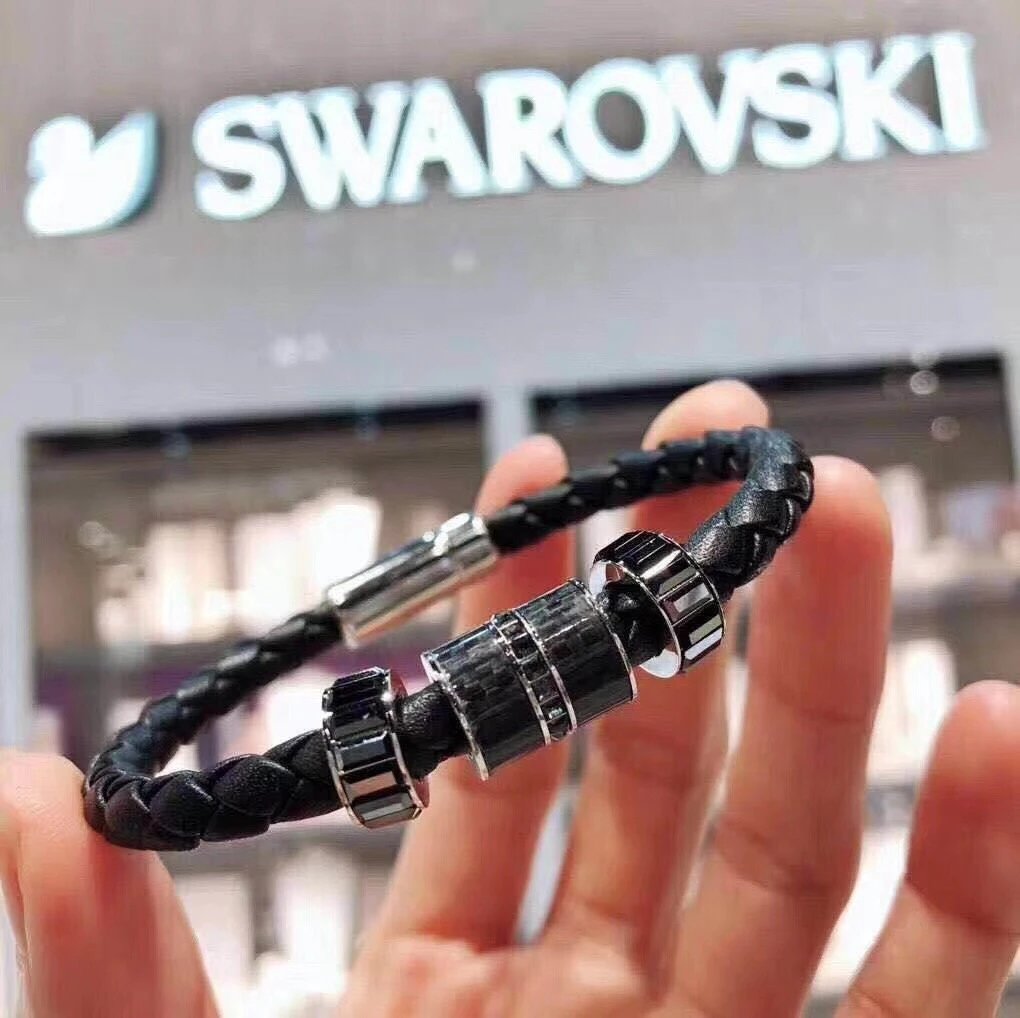
Use these different products as examples: match the seller photo to the warehouse photos on the product page.